Fitting out the obsessionator, making it a goto scope.
Posted: Tue Feb 15, 2011 9:18 pm
Well guys,
I thought I had put this up on these boards, if I have, then I cant find it, and with so many newbies here, you might find this interesting. I have coppied this from the ifas boards from over 3 years ago.
I'm doing some mods to the scope over the next week or so, so will have more updates, enjoy.
-------------------------------------------------------------------------------------
After constant what could only be called nagging by Franks for 6 months solid
, I finally had a look at the following website in October.
http://www.servocat.com/
I deliberately stayed away from that site as I knew once I had a good look I'd just have to go for it. After the WSP this year where someone knocked the scope out of position just before Chris Lintot was going to look through it, I gave in and god help me I'm just a gadget nut and went for it.
I sent Garry Myers (Mr Servocat) some enquiring emails as to how it works and what it can and cant do and found him very informative with no waffle.
So for the first time in about 5 years I bought something that didn't come from astromart.
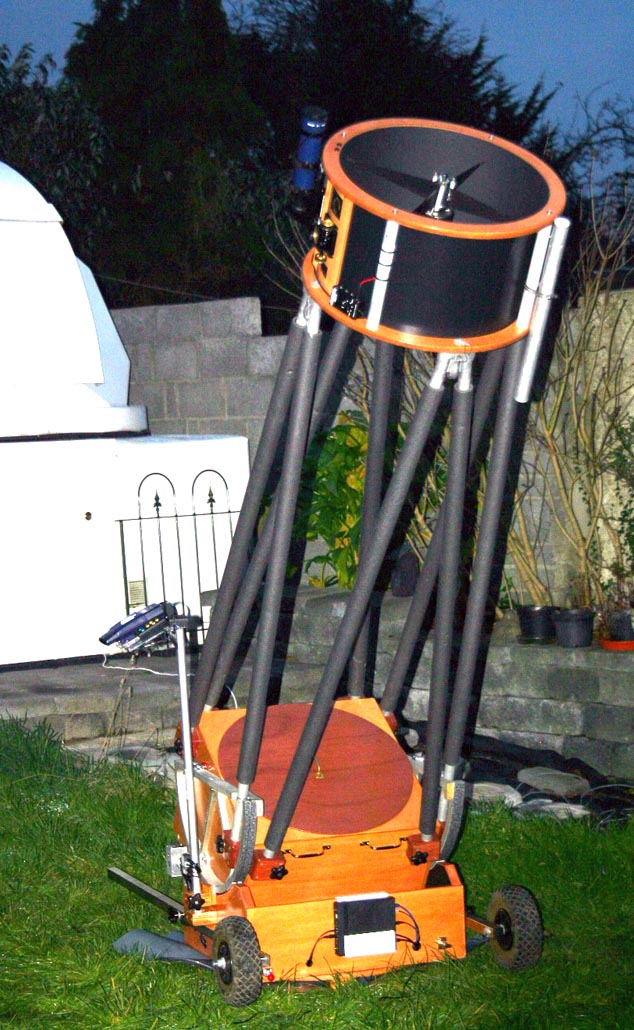
This is the servocat and argo-navis system which basically makes the 20" obsessionator a GOTO telescope.
Its a high power geared servo motor system (not a stepper motor) which is built as a kit and can be added to almost every production dobsonian/fork mount/equatorial system and many homemade Dob systems out there, although its main market is the large Dob sector.
It is supplied with a DVD showing you how to install it, it requires a fair amount drilling and hole sawing the scopes rocker box base, I did this very slowly as there are sections of it that if you rush it and drill the wrong sized/angled hole or off center you'll make life extremely difficult for yourself, infact if you drill the groundboard attachment hole wrong then you might be goosed completely!!
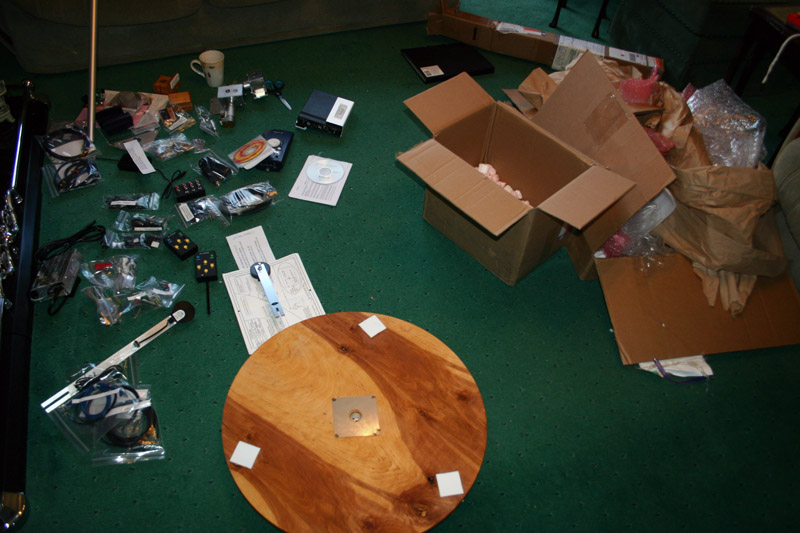
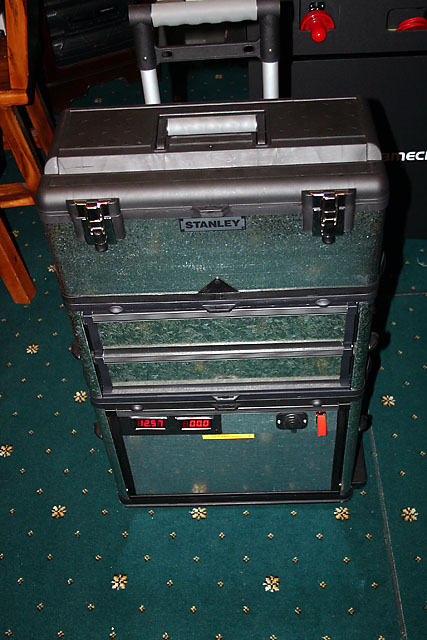
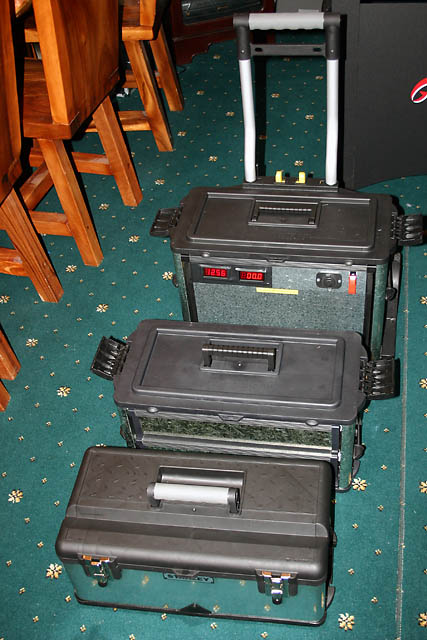
Here is a pic of all the parts out of the box, I checked everything to make sure it was all there.
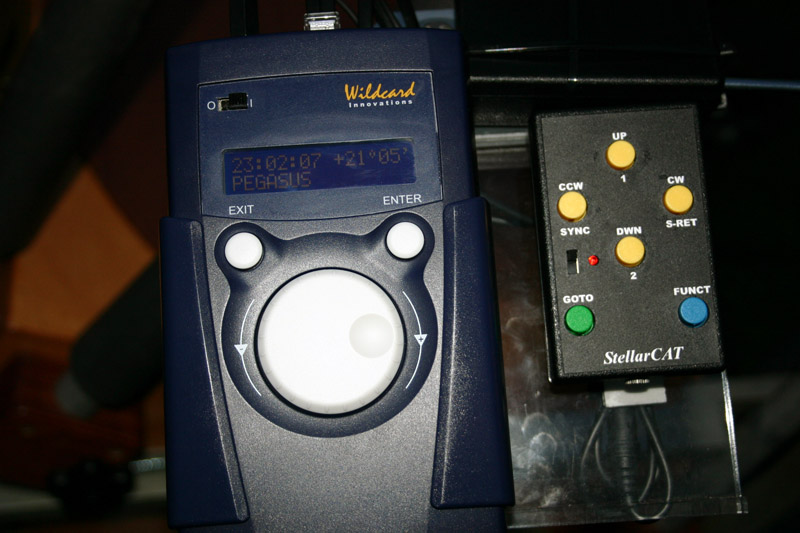
The system basically consists of the servocat handpad and controller which controls 2 high power motor/gear system, is linked to a box called an argo-navis which is linked to 2 optical 10,000 step encoders, the argo-navis is akin to the autostar on a meade scope but with alot more features. It has the usual NGC/messier/IC and many more catalogues and you can upload asteroid,comet and satellite files to it + user defined objects. It has an in built mount error correction system called TPAS, similar to Tpoint in "The Sky". It is ASCOM compliant so it will talk to any planetarium program on a laptop/pc using the LX200 protocol, very handy!. It even has a built in dew heater for the LCD display.
Here is the Argo Navis and Servocat control pad
The servocat itself can even use a ST4 for tracking corrections so you could do deepsky imaging with it, of course I'd need a field derotater for this for longer exposures.
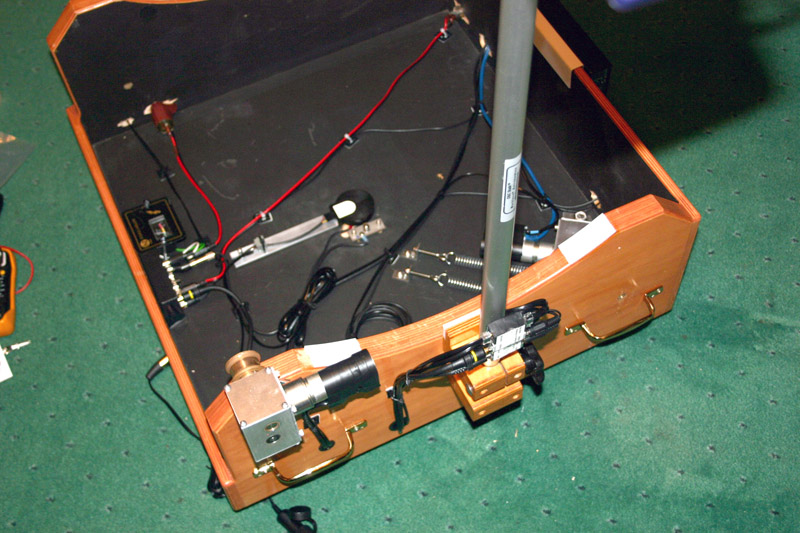
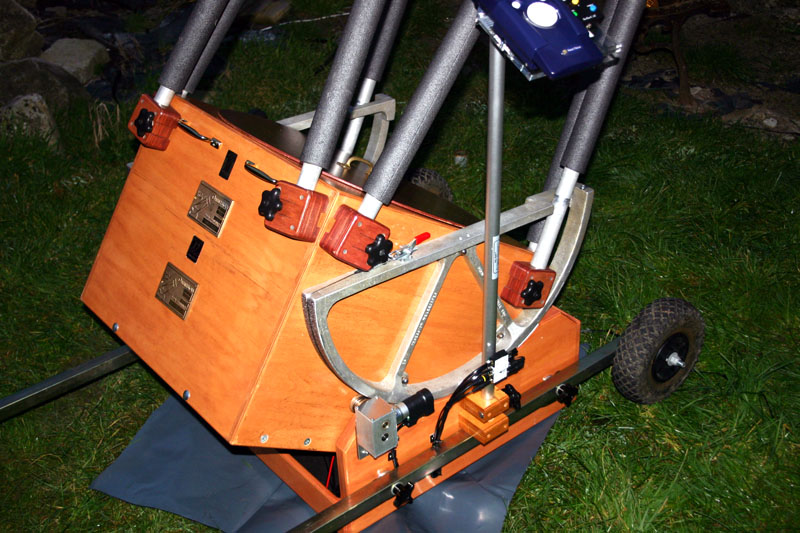
The black box on the front of the scope is the ServoCat itself
It took me about 12 hours to put it all together, it seems to work very well, the hushed deep whirl sounds of the motors make the LX200 motors sound like a Honda50, the motors and gear system is all stainless steel and is made to last.
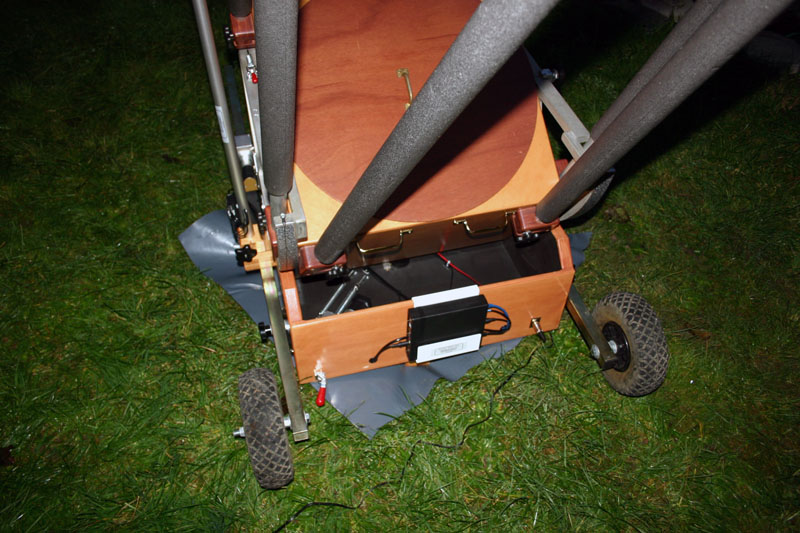
This is the Azimuth motor assembly
and this one shows the altitude motor on the side of the rockerbox and all the cabling needed.
It can drive a much bigger scope, they say beyond a 30+ inch without any modifications, so it drives the 20" effortlessly. It does have a slip mechanism which prevent damage say if your scope got cought up in a strong gust of wind or someone tripped over themselves while looking through the eyepiece.
One really cool feature is the slip return feature, say someone was looking through the eyepiece and pushed the scope so they basically loose the object, all you need do is press a button and the scope will return back to the object, handy for people who tend to be accident prone.
To be honest, from what I've seen of this so far, you'd actually need to fall off the ladder onto the scope itself to move it, its held very rigidly !.
The system turns the scope east/west by driving a silver cylinder against a circular board known as the ground board. The altitude axis is moved by placing a stainless steel cable along the altitude bearing and then wrapping it around a spinel which is driven by a motor.
It has engage/disengage levers on both axis so you can use the scope manually if you want, even if you do, the system still knows where the scope is at all times and will not loose sync as the encoders are not tied to the motor system directly as you might see in practically all other goto scopes.
Power is its sole weakness (only a problem really if you have a bad battery), the motors on full slew draw 4 amps, that 4 times what the LX200 takes, so it will be interesting to see how long the battery lasts on a cold night. I don't mind this really as who would be slewing all night and I'd rather have a very beefy motor system then one teetering on the brink of flying apart!. I got the mains power supply for it also so I intend using that where possible.
I went for the stalk option as I figured I'd want a convenient place for the controllers
I also went for the wireless controller so I could move the scope while looking through the eyepiece without having cables all over the place.
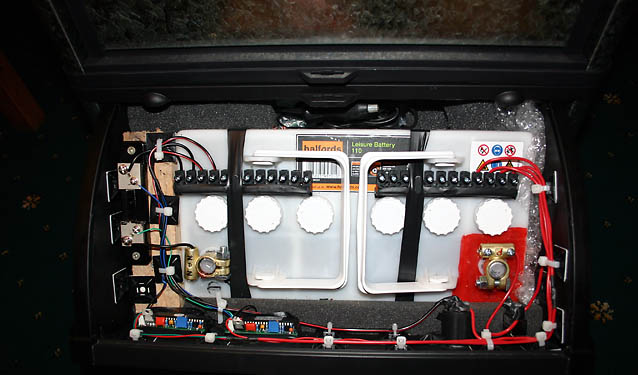
The system is very neat with all of the cables are located in the floor of the rocker box base.
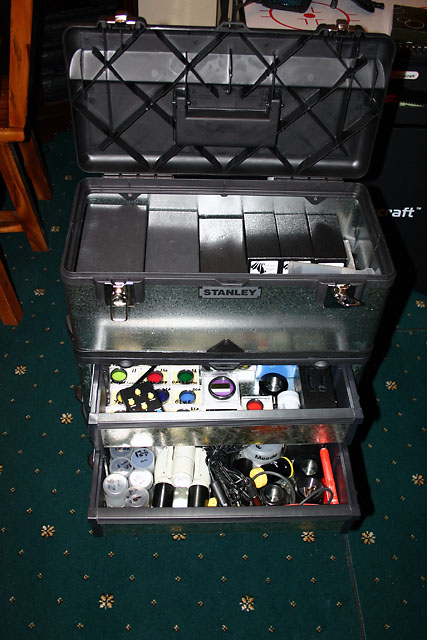
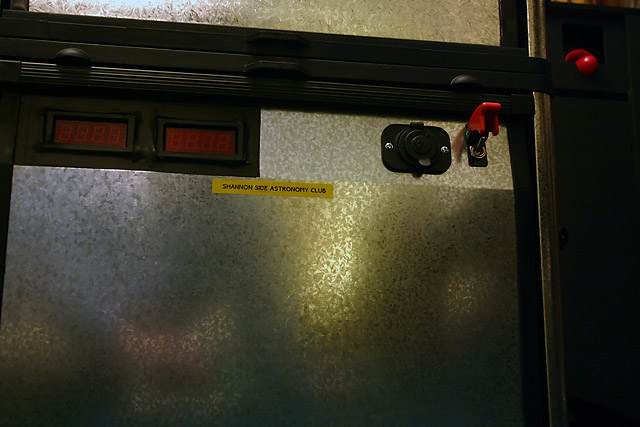
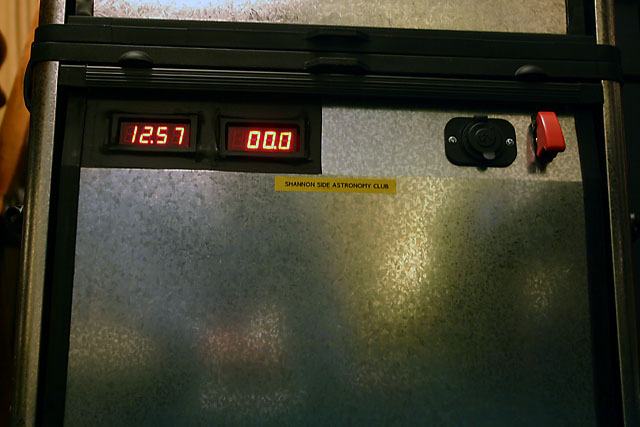
I added a few things of my own such as an onboard voltmeter and now been able to power the primary mirror fan and the secondary mirror dew heater using the same power as the rest of the system, bye bye batteries. I also, put in a 12v power socket on the side of the scope as I might mount the battery pack on the side of the scope to avoid people tripping over the cable. I cant see the weight of the battery pack having any effect on this system.
The real beauty with a system like this is that IF I ever got a bigger Dob, I can take this system off this scope and put it on that, but there is no way I'll be upgrading from this scope unless I win the lottery or something similar..
So,I hope that this has been an interesting read as I haven't seen any mention of a system like this on the boards before.
I'd be happy to answer any questions any of you might have.
BTW, thanks Frank for "persuading" me that this was a great idea, you were dead right, I'm looking forward to seeing you get yours !.
-------------------------------------------------------------------------------------